Ever wanted to make jewelry with leather cord but couldn’t figure out a way to put the clasp you wanted on it? Well, we’re here for you!
The method we will give now can be used for any clasp that used jump rings. Come on, let’s give it a shot!
So, be sure to gather all the materials you’ll need before: leather cord, a clasp with jump ring, metal wire, soft temper, a wire cutter, super glue and finally two pliers (it’s better if one of them is a long flat nose – which will be useful to grab the wire and touch up the coil at the end – but if that’s not the case, that doesn’t really matter either, as long as you get a good grip on it).
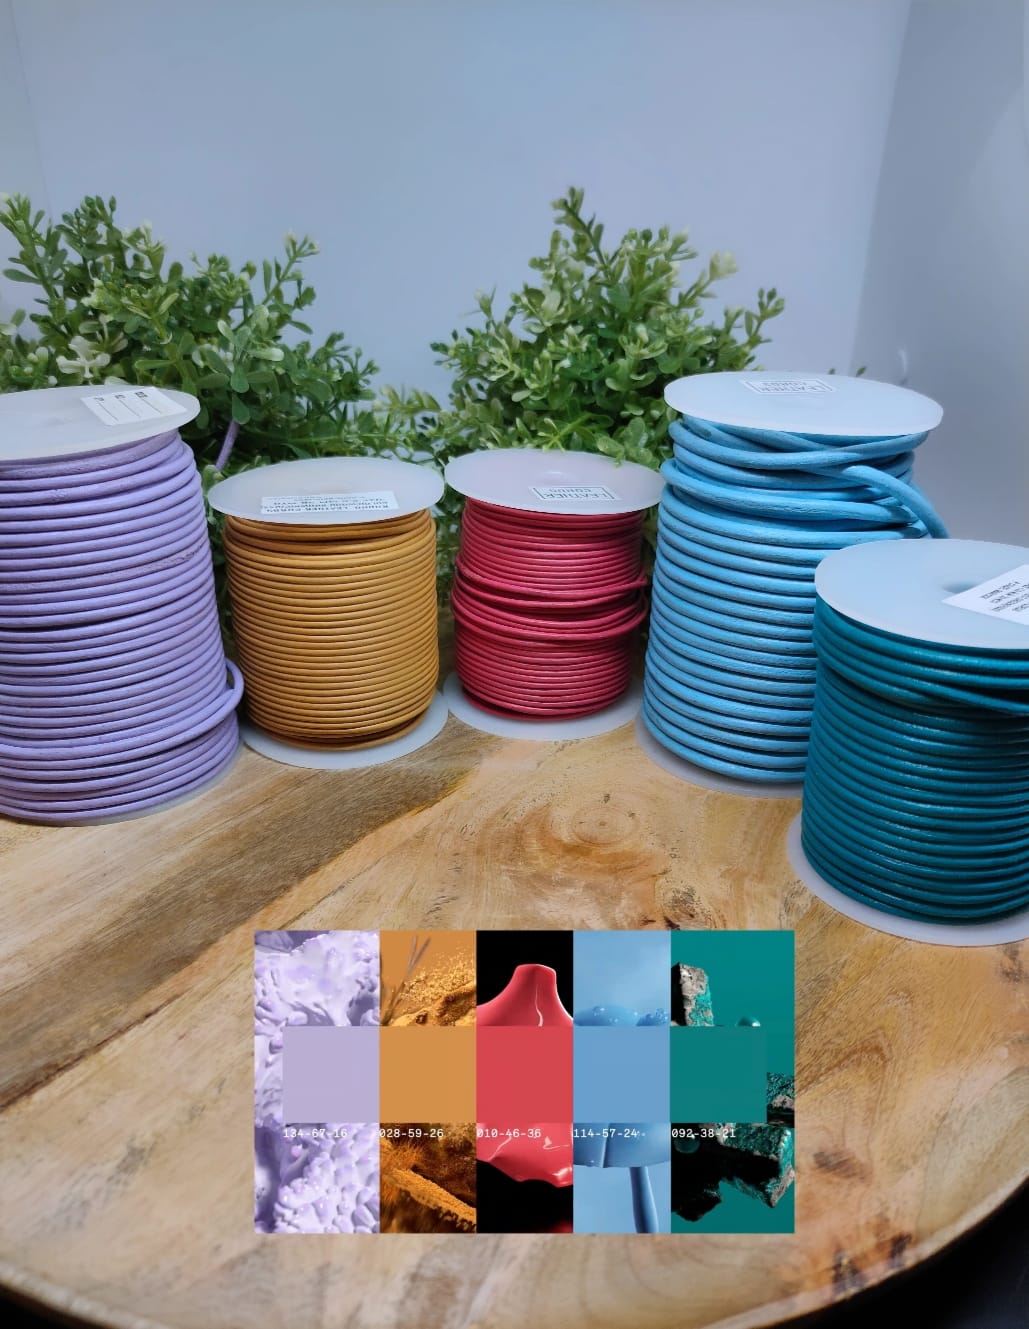
Make sure before started to choose and compare your leather cord with the type of wire you use (we recommend you to pick up the soft one, instead of a half hard one in order to be able to bend it without too much difficulty afterwards).
In doing that, you will get a better idea of what will work best.
First of all, the first thing you want to do is make sure that the cord will fit into the clasp (obviously). But don’t worry, there’s a solution for everything ! If it doesn’t fit, you just have to get a jump ring and then attach it to the clasp later.
So, begin by putting the jump ring through your leather cord. Make sure you have more cord than needed, especially if this is your first-time practicing, because you still be able to cut off the end of the cord but it’s impossible to add it later!
Next, pinch it at the end and make a few neat coils. The number of coils that you need depends on the wire that you are using and the size of your cord. With the end going off to the side, thread it right through the bottom and then make a knot out of this.
All you have to do now is just tighten it. You can do it if you want by rotating each layer of the coil with your plier, one layer at a time.
Once it’s done, we’re advise you to take a step back to make sure everything looks good from all sides.
And this is basically all of it. Now you just need to cut the ends off while ensuring everything’s nice and clean. By cutting the ends off, you can do it by getting as deep as possible, so that the ends don’t show.
Finally, use a little bit of super glue at the ends to secure it and finish it off. Just a small drop, that’s it, so as the leather does not get brittle.
Repeat the same process on the short end of the leather that you’ll cut carefully afterwards.
One side is now completely finished, you just need to do the same thing for the other side. Be careful to repeat the same steps above.
The only difference with this other side, is that now you need to measure the length of your necklace with a ruler and adjust it while you can, if needed.
Enjoy creating new necklaces with all kinds of different and beautiful clasps ! Don’t hesitate to take a look on our list of clasps, created by Team Sun Enterprises just for you!