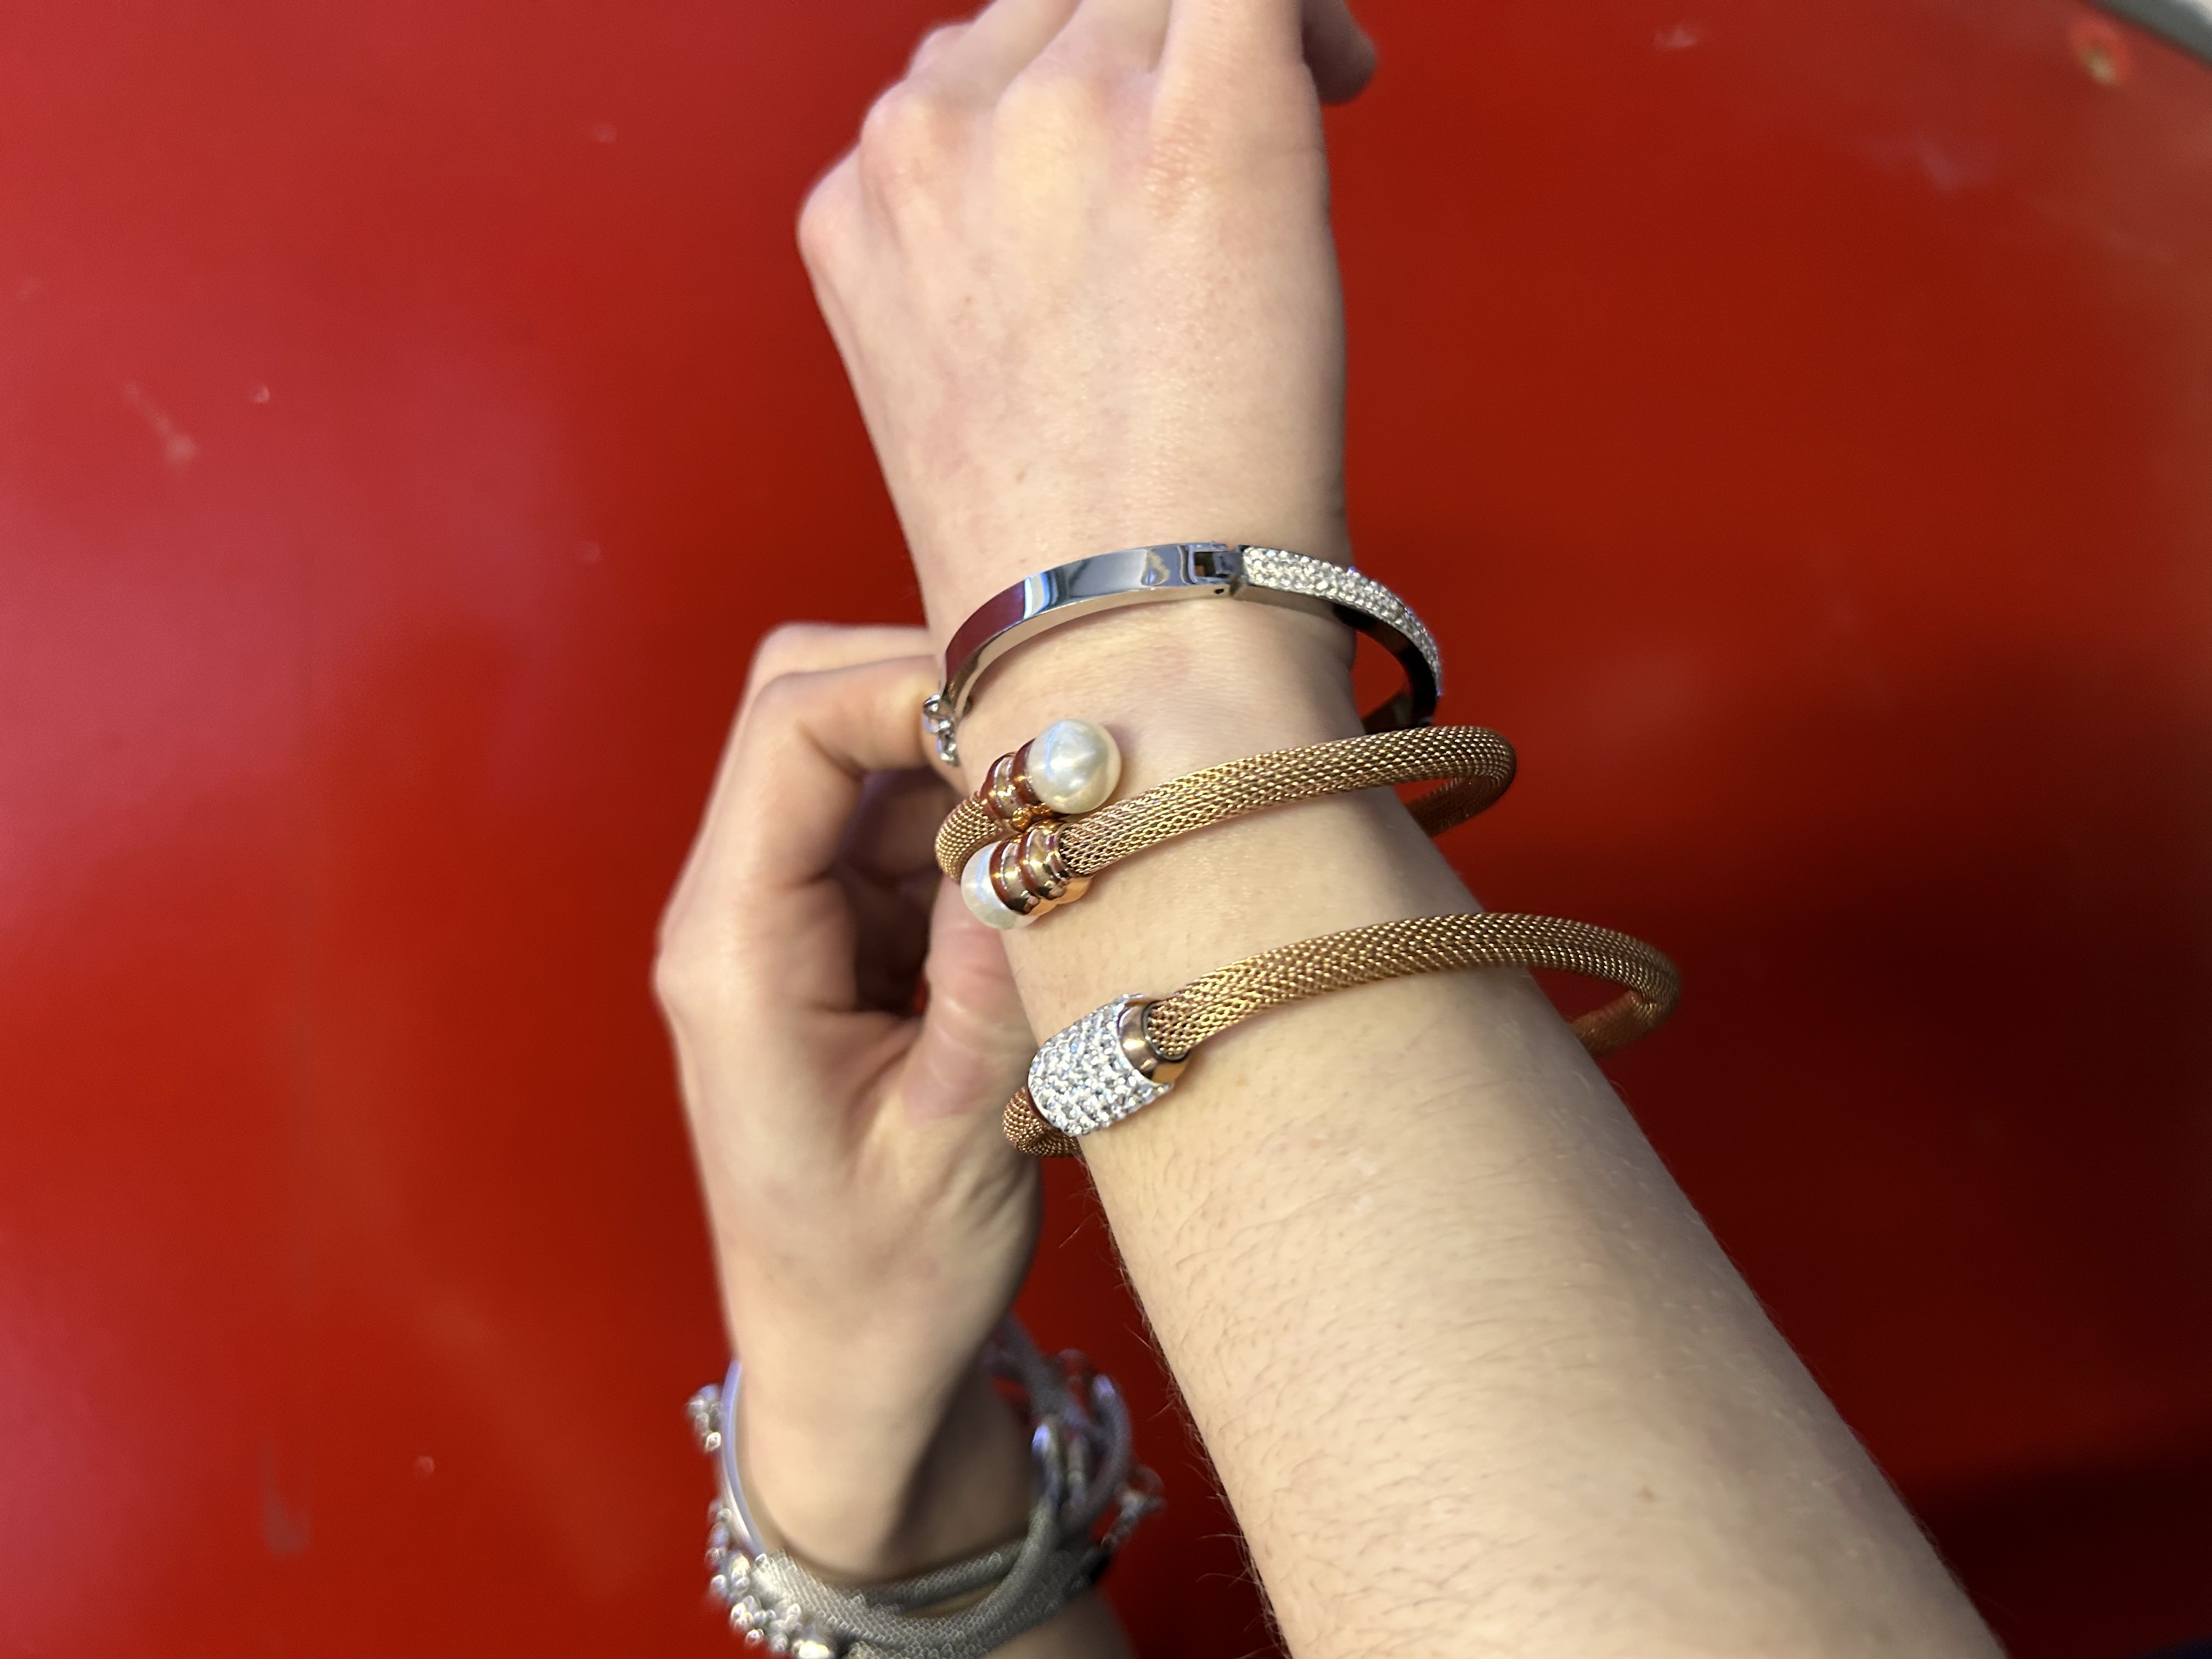
Silver jewelry crafting is more than just a captivating pastime—it’s an ancient art form steeped in history, a therapeutic outlet for creativity, and even a route to starting your own jewelry business. With a shimmering thread that weaves through cultures and across time, mastering the craft of silver jewelry can bring both personal fulfillment and, for some, significant financial reward.
For beginners eager to explore this craft, the journey can begin with a single bend and twist of silver wire. But where does one start? What do you need to know? This guide, designed for silver crafting novices, will take you step by step through the process—equipping you with not only the practical skills but also the confidence to turn this hobby into a budding enterprise. Whether you dream of crafting a signature collection or merely enjoy the meditative process of shaping metal, this is your starting point.
Introduction to the Alchemy of Silver Crafting
Silver jewelry, with its symbolic history and lustrous beauty, captivates the imagination of people worldwide. But beyond its aesthetic appeal, the craft of transforming raw silver into wearable art is a rewarding journey in itself. It melds patience, skill, and vision into pieces that can express personal stories or cultural affirmations.
In this detailed guide, we walk you through the various aspects of silver crafting. From understanding the metal itself to the tools and techniques you'll need, we'll demystify the process. Discover how to take your first steps (or bends and joins, in this case) in crafting silver, explore design inspirations, troubleshoot common issues, and then—most excitingly—find out how you can share your creations with the world.
As we delve into the silversmith's world, we'll address not only the technical aspects of jewelry-making but also the artistic side. This combination is essential for anyone seeking to bring a unique design to life or create a collection that resonates in the market.
So, tighten the protective gloves, ready your workspace, and let's venture into the shimmering realm of silver crafting.
Getting Started with Silver Jewelry Crafting
Silver 101: Know Your Metal
Before you begin melting, shaping, and polishing, it's crucial to understand the metal itself. Silver, in its purest form, is a relatively soft and lustrous metal. In jewelry-making, certain alloys (mixtures), known as sterling silver, are more commonly used to enhance durability without sacrificing too much malleability.
When diving into the world of silver jewelry crafting, the distinctions between different kinds of silver are fundamental. Sterling silver, denoted as 925, signifies that the metal is made up of 92.5% pure silver, with the remaining 7.5% typically consisting of copper or other metals to boost its strength and durability. This composition makes it ideal for fine jewelry that withstands regular wear. Other types include fine silver, known for its 99.9% purity level and its delicate, ethereal qualities; and argentium silver, a modern type with a similar to higher purity level than 925 but with additions like germanium that render it more tarnish-resistant. Understanding the nuances of each silver type, such as their malleability, durability, and resistance to tarnish, will greatly influence your design choices and the techniques you'll apply.
What Do You Need to Start Crafting with Silver?
Silver Jewelry Crafting Tools: Essential tools include a jeweler's saw, blow torch, solder, hammers, mandrels, an anvil, and various pliers and clamps. Invest in high-quality tools to make your crafting experience more efficient and enjoyable
Materials: Silver wire, sheets, or casting grain, and appropriate flux and solder for joining. Start with smaller quantities to experiment and build your skills.
Safety Gear: Fire-resistant gloves, apron, and eye protection are a must when dealing with hot metals and chemicals.
The Craft in Practice: Understanding the Art of Safety
Crafting with silver involves working with high temperatures and chemicals. Safety must always come first. Here are some detailed precautions to observe:
Flame Safety: Always work in a well-ventilated area. Have a fire extinguisher close at hand and know how to use it.
Eye Protection: Wear safety goggles to shield from sparks and UV light produced by the torch.
Respiratory Protection: Use a mask designed for working with fumes when soldering.
First-Aid Kit: Stock your workshop with burn gel, bandages, and a burn blanket for emergencies.
Fire-Proof Environment: Keep a non-combustible surface or fire brick for torch work.
By respecting the tools and materials you work with, you protect both your safety and the quality of your craft.
Exploring the Techniques of Silver Crafting
Silver jewelry can be as simple as a bent wire or as intricate as a filigree creation. Knowing the right techniques will define the elegance and functionality of your pieces.
Soldering: The Core Technique
Soldering is the process of bonding two metal items together using a metal that has a lower melting point. To begin, you'll need a blow torch, soldering pick, flux, and various solders (hard, medium, and easy). Here's a step-by-step guide:
Prepare the Joint: Fit, or 'tack,' the pieces together to create a tight joint. Apply flux to the joint area to prevent oxidation and ensure a clean, strong bond.
Heating: Use a hot enough flame to direct the heat where it's needed. Always heat the piece, not the solder.
Applying Solder: Once the silver reaches the temperature for the solder to melt, touch it with the soldering pick, allowing the solder to flow into the joint.
Shaping and Forming
Shaping silver can be as simple as bending a wire or as complex as forming a ring. The key is to work incrementally and in line with your design:
Using a Mandrel: For ring making, use a mandrel—an elongated cone—to shape the silver to the proper size.
Bending and Forming: For pendants and earrings, use pliers and hammers to create the desired form.
Wire Wrapping: A simple but effective technique, wire wrapping involves binding the silver with itself or other components to create secure and decorative designs.
Finishing Touches: Polishing and Texturing
Polishing brings out the shine in your silver pieces after shaping and soldering. Electric polishers are the quickest method, while hand polishing with a cloth and polishing compounds allows for more control.
Texturing, on the other hand, adds personality to your designs. There are many texturing tools available, including stamps, hammers, and rolling mills. Experiment with different textures to see what fits your aesthetic.
The Lost Wax Technique and Mould Creation
The lost wax technique in silver casting is an intricate and fascinating process used by silversmiths. Instead of directly working with silver, artisans create a wax model that serves as a template. This model is meticulously crafted, ensuring every intricate detail is captured.
Select Your Wax: There are different types of wax, from hard metals to soft plastics, depending on the desired detail. Once the wax model is complete, it is sent to a casting house where the true magic happens. The wax model is carefully placed in a mold, which is then heated to melt the wax away, leaving behind a hollow cavity in the shape of the desired silver object.
The casting process: Next comes the casting stage, where molten silver is poured into the cavity left by the melted wax. The silver fills every nook and cranny of the mold, perfectly replicating the original wax model in all its glory. As the silver cools down, it solidifies and takes on the desired shape, capturing the intricacies of the wax model. Once the silver has completely cooled, the mold is broken or opened, revealing the newly cast silver object. At this stage, any excess metal is carefully removed, and the piece is meticulously finished and polished to bring out its true beauty.
The lost wax technique in silver casting is a true testament to the craftsmanship and artistry of silversmiths. It allows for the creation of intricate and detailed silver objects that would be challenging to achieve through other methods. With each step, from the meticulous wax model to the precise casting and finishing, the lost wax technique brings forth stunning silver creations that are cherished and admired by all.
Sample Project
Here's a simple beginner's project to start: a hammered ring. You'll learn basic shaping and texturing techniques.
Cutting the Metal: Measure the silver wire to your desired ring size, and use a jeweler's saw to cut it cleanly.
Shaping the Ring: Form the ring around the mandrel, keeping the ends aligned. Use a hammer to gently shape and give texture to the band.
Soldering: Join the ends using the soldering technique we discussed earlier.
Final Polishing: Polish the ring using a polishing machine or a cloth with polishing compound.
This project will give you a feel for the material and processes involved in silver crafting.
Design Inspiration: Sparking Your Creativity
Great design challenges and satisfies the mind. The world around you is full of inspiration, waiting to be transformed into silver. Here are sources to ignite your creativity:
Nature's Patterns and Forms
Nature provides an endless source of design inspiration. The repetition of leaves, the complexity of flowers, and the elegance of animal forms can all inform your silver designs.
Cultural References
History is replete with cherished jewelry styles that can inform your designs and tell a story. Explore the art of ancient civilizations and consider how you might incorporate their aesthetic into contemporary designs.
Your Life and Experiences
Your personal story is unique and can inspire designs that reflect you. Think about significant events or themes from your life that might find expression in the silver. Family, travel, and hobbies are all fertile ground.
Troubleshooting and Tips
Common Challenges in Silver Crafting and Their Solutions
Issue: The solder isn't flowing properly.
Solution: Ensure that the joint is clean and well-fluxed. Sometimes simply adding more flux can help.
Issue: The soldered joint is weak or looks porous.
Solution: You might be applying too much heat, which can vaporize the flux. Try a softer flame and work slower.
Issue: My finished piece looks scratched up.
Solution: Always use a soft brush or polishing wheel that's appropriate for your piece's shape. Keep your workspace free of abrasive particles that can scratch.
Expert Tips to Elevate Your Craft
Practice Patience: Rushed work leads to mistakes. Take your time with each step of the crafting process.
Understand Your Material: Silver has its quirks. Familiarize yourself with how it moves, flows, and responds to heat.
Learn from Mistakes: Don't be discouraged by errors. They're part of the learning process. Analyze what went wrong so you can avoid repeating the mistake.
Promoting and Selling Your Creations
Marketing Your Craft
Silver jewelry, especially handmade, carries a story that can resonate with buyers. Here's how to tell it:
Brand Your Work: Give your designs a name or a theme. This will make your collection more memorable and create a consistent brand image.
Professional Photos: Good photos are essential for online sales. Invest in a good camera or hire a photographer.
Selling Your Pieces
From craft fairs to online platforms, there are many avenues for selling silver jewelry:
Online Platforms: Websites like Etsy, Artfire, and Shopify offer a global marketplace for silver jewelry. Local Markets and Fairs: Showcase your work at local events to connect with customers. Shops: Approach boutique stores with your work.
Pricing your jewelry
Pricing can be daunting for a beginner. Here's a simple formula to get you started:
Cost of Materials + Labor + Overhead + Profit = Wholesale x 2
• Material Costs: Silver, stones, etc.
• Labor: How much do you want to be paid per hour for your work?
• Overhead: Workshop costs, utilities, etc.
• Profit: Your business's income after covering costs and labor.
Don't underprice your work. Charge what it's worth.
As of the latest available data, the price of silver is subject to fluctuation based on various market forces. In the European Union, the price is in Euros per ounce, whereas in the United States is in US Dollars per ounce. To obtain the current and most accurate price, investors and artists alike are encouraged to consult real-time financial data from financial news websites or journals, as these prices can vary daily due to economic conditions, supply and demand, and geopolitical events. A general suggestion is also monitoring the prices of the
Environmental and Ethical Considerations
The silver industry, like any manufacturing sector, has its environmental impact. As a craftsperson, consider the following:
• Eco-Friendly Practices: Where possible, choose recycled silver and minimize waste.
• Ethical Sourcing: Ensure your silver comes from a reputable source that respects human rights.
• Consumer Education: Educate your customers about the origins of your materials and the conscious choices you make in production.
Conclusion: The Precious Journey of Silver Crafting
For those who stick with it, silver jewelry crafting can be a deeply rewarding pursuit. As you continue to hone your skills, you'll find that each project you undertake is not just a product but a piece of your evolving personal artistry.
Embrace the journey. Celebrate your successes. Learn from your challenges. And above all, revel in the alchemy of transforming a modest sliver of silver into a work of art that adorns and delights.
So, go forth with confidence, creativity, and craftsmanship. The sparkling world of silver jewelry is waiting to be shaped by your hands and your heart.


