


How do you straighten faux leather cords
How to Straighten Faux Leather Cords (and Genuine Leather Cords) for Jewelry Making
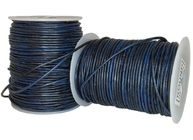
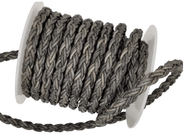
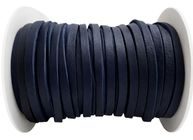
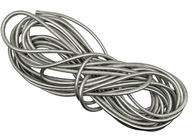
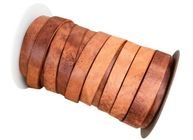
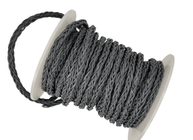
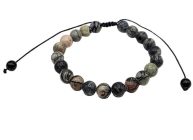
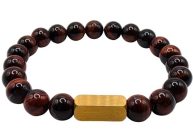
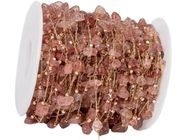
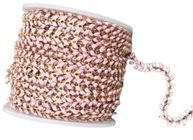
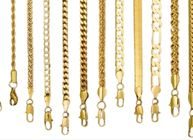
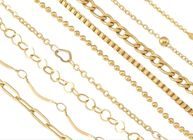
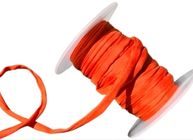
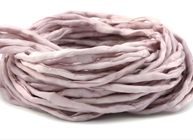
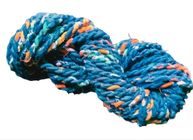
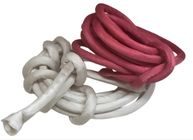
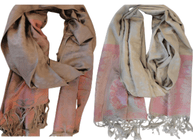
When working with leather cords in jewelry making, one of the most common frustrations designers face is curved or coiled cords. Faux leather cords also known as imitation leather cords and genuine leather cords are often sold wrapped around spools or rolled into bundles. While this is practical for storage and shipping, it often leaves the cord with a stubborn curl that refuses to straighten when you’re ready to work with it.
The good news? Straightening faux leather cords is simple, and the exact same methods apply to genuine leather cords as well. That means once you learn the technique, you can use it for all your leather-based projects bracelets, necklaces, accessories, and more.
In this guide, we’ll walk you through the most effective ways to straighten leather and faux leather cords, from quick hand techniques to traditional leatherworking methods that have been used for centuries.
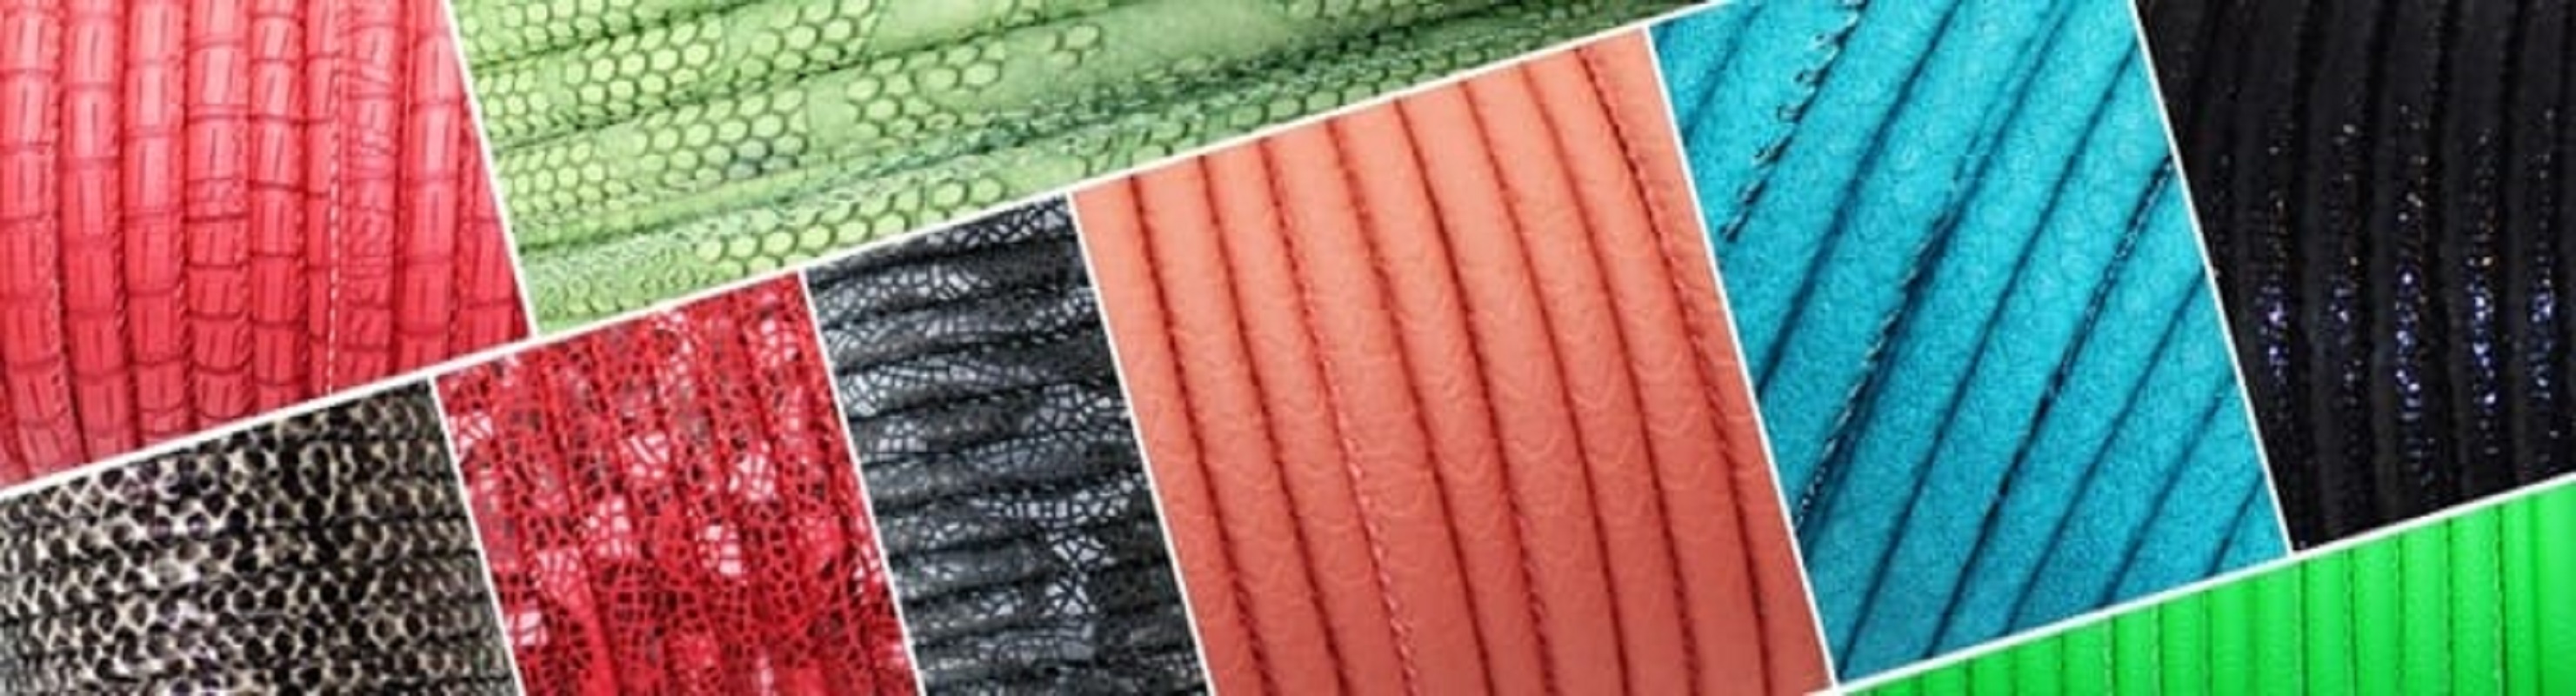
What Is Faux Leather Cord?
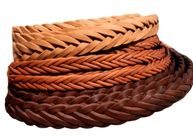
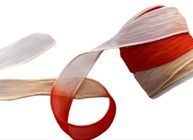
Faux leather cord is designed as an alternative to real leather. It mimics the look, texture, and flexibility of genuine leather while often being more affordable and animal-free. One of its biggest advantages is that almost anything traditionally made with leather can also be made with faux leather.
Because of this similarity, faux leather and genuine leather behave the same way when it comes to straightening and softening. That’s why all the methods below work for both materials.
Why Do Leather Cords Curl?
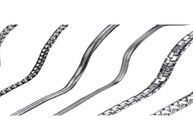
When leather or faux leather cords are wrapped tightly around a spool, the fibers “memorize” that curved shape. Over time, the cord adapts to the spool’s form, which causes it to remain curved even after being unrolled.
If you use a curled cord directly in your design, it can:
-
Make necklaces look warped
-
Cause bracelets to twist awkwardly
-
Reduce the professional finish of your jewelry
That’s why straightening the cord before starting is an essential step.
Method 1: The Hand Softening Technique (Quick & Easy)
The simplest and fastest way to soften and straighten leather cord is manual flexing.
How it works:
-
Cut the length of cord you need for your project.
-
Pinch a small section of the cord between your thumb and index finger.
-
With your other hand, gently bend the cord back and forth.
-
Move along the length of the cord and repeat.
Why this works:
Leather fibers naturally stiffen when compressed for long periods. Bending the cord back and forth “wakes up” the fibers, restoring flexibility and reducing curl.
Best for:
-
Short lengths of cord
-
Bracelets
-
Quick fixes
While this method is effective for small projects, longer cords (like necklace lengths) often require a more thorough technique.
Method 2: The Traditional Bone Bead Technique (“The Neat”)
For truly straight, professional results, traditional leatherworkers rely on a method known as “the neat.” This technique has been used for centuries to straighten and soften leather cords using friction.
What you need:
-
A bone bead (or another natural bead)
-
A bead hole slightly smaller than the cord thickness
-
Your leather or faux leather cord
Natural beads work best because they are easier to grip and create the right amount of friction.
Step-by-step instructions:
-
Cut the cord to the desired length.
-
Thread one end of the cord through the bone bead.
-
Pull the cord back and forth through the bead several times.
-
Slightly angle the bead while pulling so it scrapes gently across the cord’s surface.
-
Continue until the cord becomes soft, straight, and flexible.
Why this works:
The friction created by the bead:
-
Breaks stiffness in the fibers
-
Removes the spool memory
-
Makes the cord more pliable
Angling the bead increases surface contact, enhancing the straightening effect.
Tip: Take Your Time for a Vintage Look
If you prefer a slightly distressed or vintage appearance, don’t rush the process. Slower, repeated passes through the bead create subtle texture that adds character — especially appealing for bohemian, rustic, or handmade-style jewelry.
What If the Cord Still Won’t Straighten?
In rare cases, some cords may remain stubborn due to:
-
Very tight spool wrapping
-
Extra-thick material
-
Long-term storage
If this happens, you can introduce a small amount of moisture.
How to do it safely:
-
Lightly dampen the cord (do not soak it)
-
Straighten it using one of the methods above
-
Let it air dry naturally in a straight position
Moisture relaxes the fibers, making them easier to reshape. This works for both faux and genuine leather.
Important Notes When Straightening Faux Leather
-
Avoid heat sources like hair dryers — they can damage faux leather coatings.
-
Never soak faux leather in water.
-
Always test techniques on a small piece first.
When to Straighten Your Cord
You should always straighten leather cords:
-
Before assembling jewelry
-
Before attaching clasps
-
Before adding beads or pendants
This ensures clean lines, even tension, and a professional finish.
Why This Step Matters in Jewelry Making
Straight cords:
-
Improve visual balance
-
Prevent twisting and warping
-
Make designs easier to assemble
-
Enhance durability and comfort
Whether you are creating jewelry for personal use, selling handmade pieces, or designing for a brand, straightening your cords is a small step that makes a big difference in quality.
Final Thoughts
Straightening faux leather cords and genuine leather cords is easy once you know the right techniques. Whether you choose the quick hand-softening method or the traditional bone bead technique, both approaches help restore flexibility and eliminate unwanted curves.
By taking a few extra minutes before starting your project, you ensure that your jewelry looks polished, professional, and thoughtfully crafted.
At Sun Enterprises, we encourage designers to explore different techniques and materials to achieve the best results. Feel free to browse our other blogs for more tips and inspiration, or contact us if you have any questions. We’re always happy to help!


