


How to Use a DIY Bracelet Kit with Leather Cord
How to Use a DIY Bracelet Kit with Leather Cord
DIY jewelry making is a creative and relaxing activity that allows people to design their own accessories. One of the most popular projects for beginners and hobbyists is creating leather bracelets. A DIY bracelet kit with leather cord provides all the essential materials needed to craft stylish and personalized bracelets at home.
In this guide, we will explain how to use a DIY bracelet kit with leather cord and how to create beautiful handmade bracelets step by step.
What Is Included in a DIY Bracelet Kit?
Most DIY bracelet kits are designed to make the jewelry-making process simple and enjoyable. A typical kit includes several important components that allow you to create different bracelet designs.
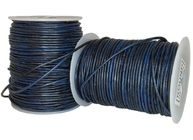
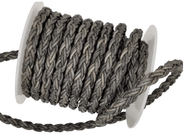
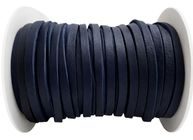
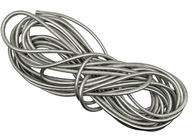
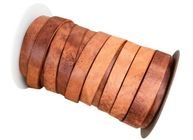
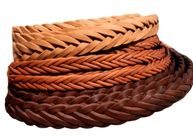
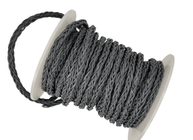
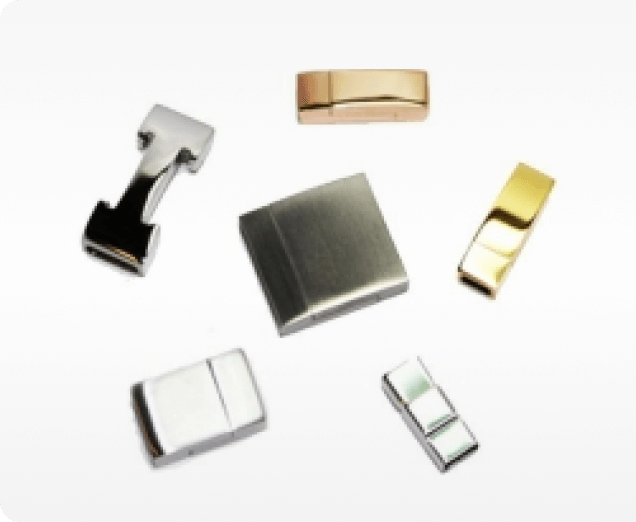
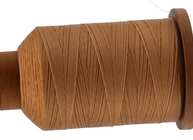
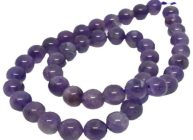
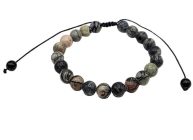
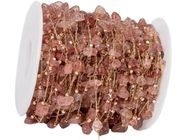
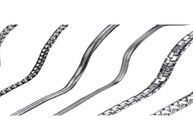
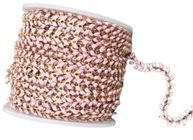
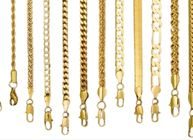
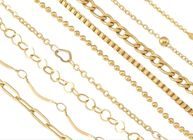
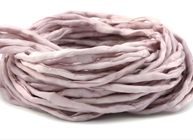
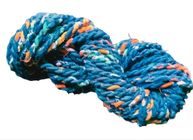
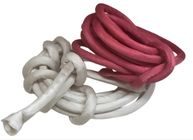
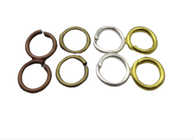
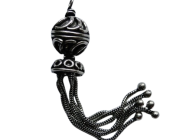
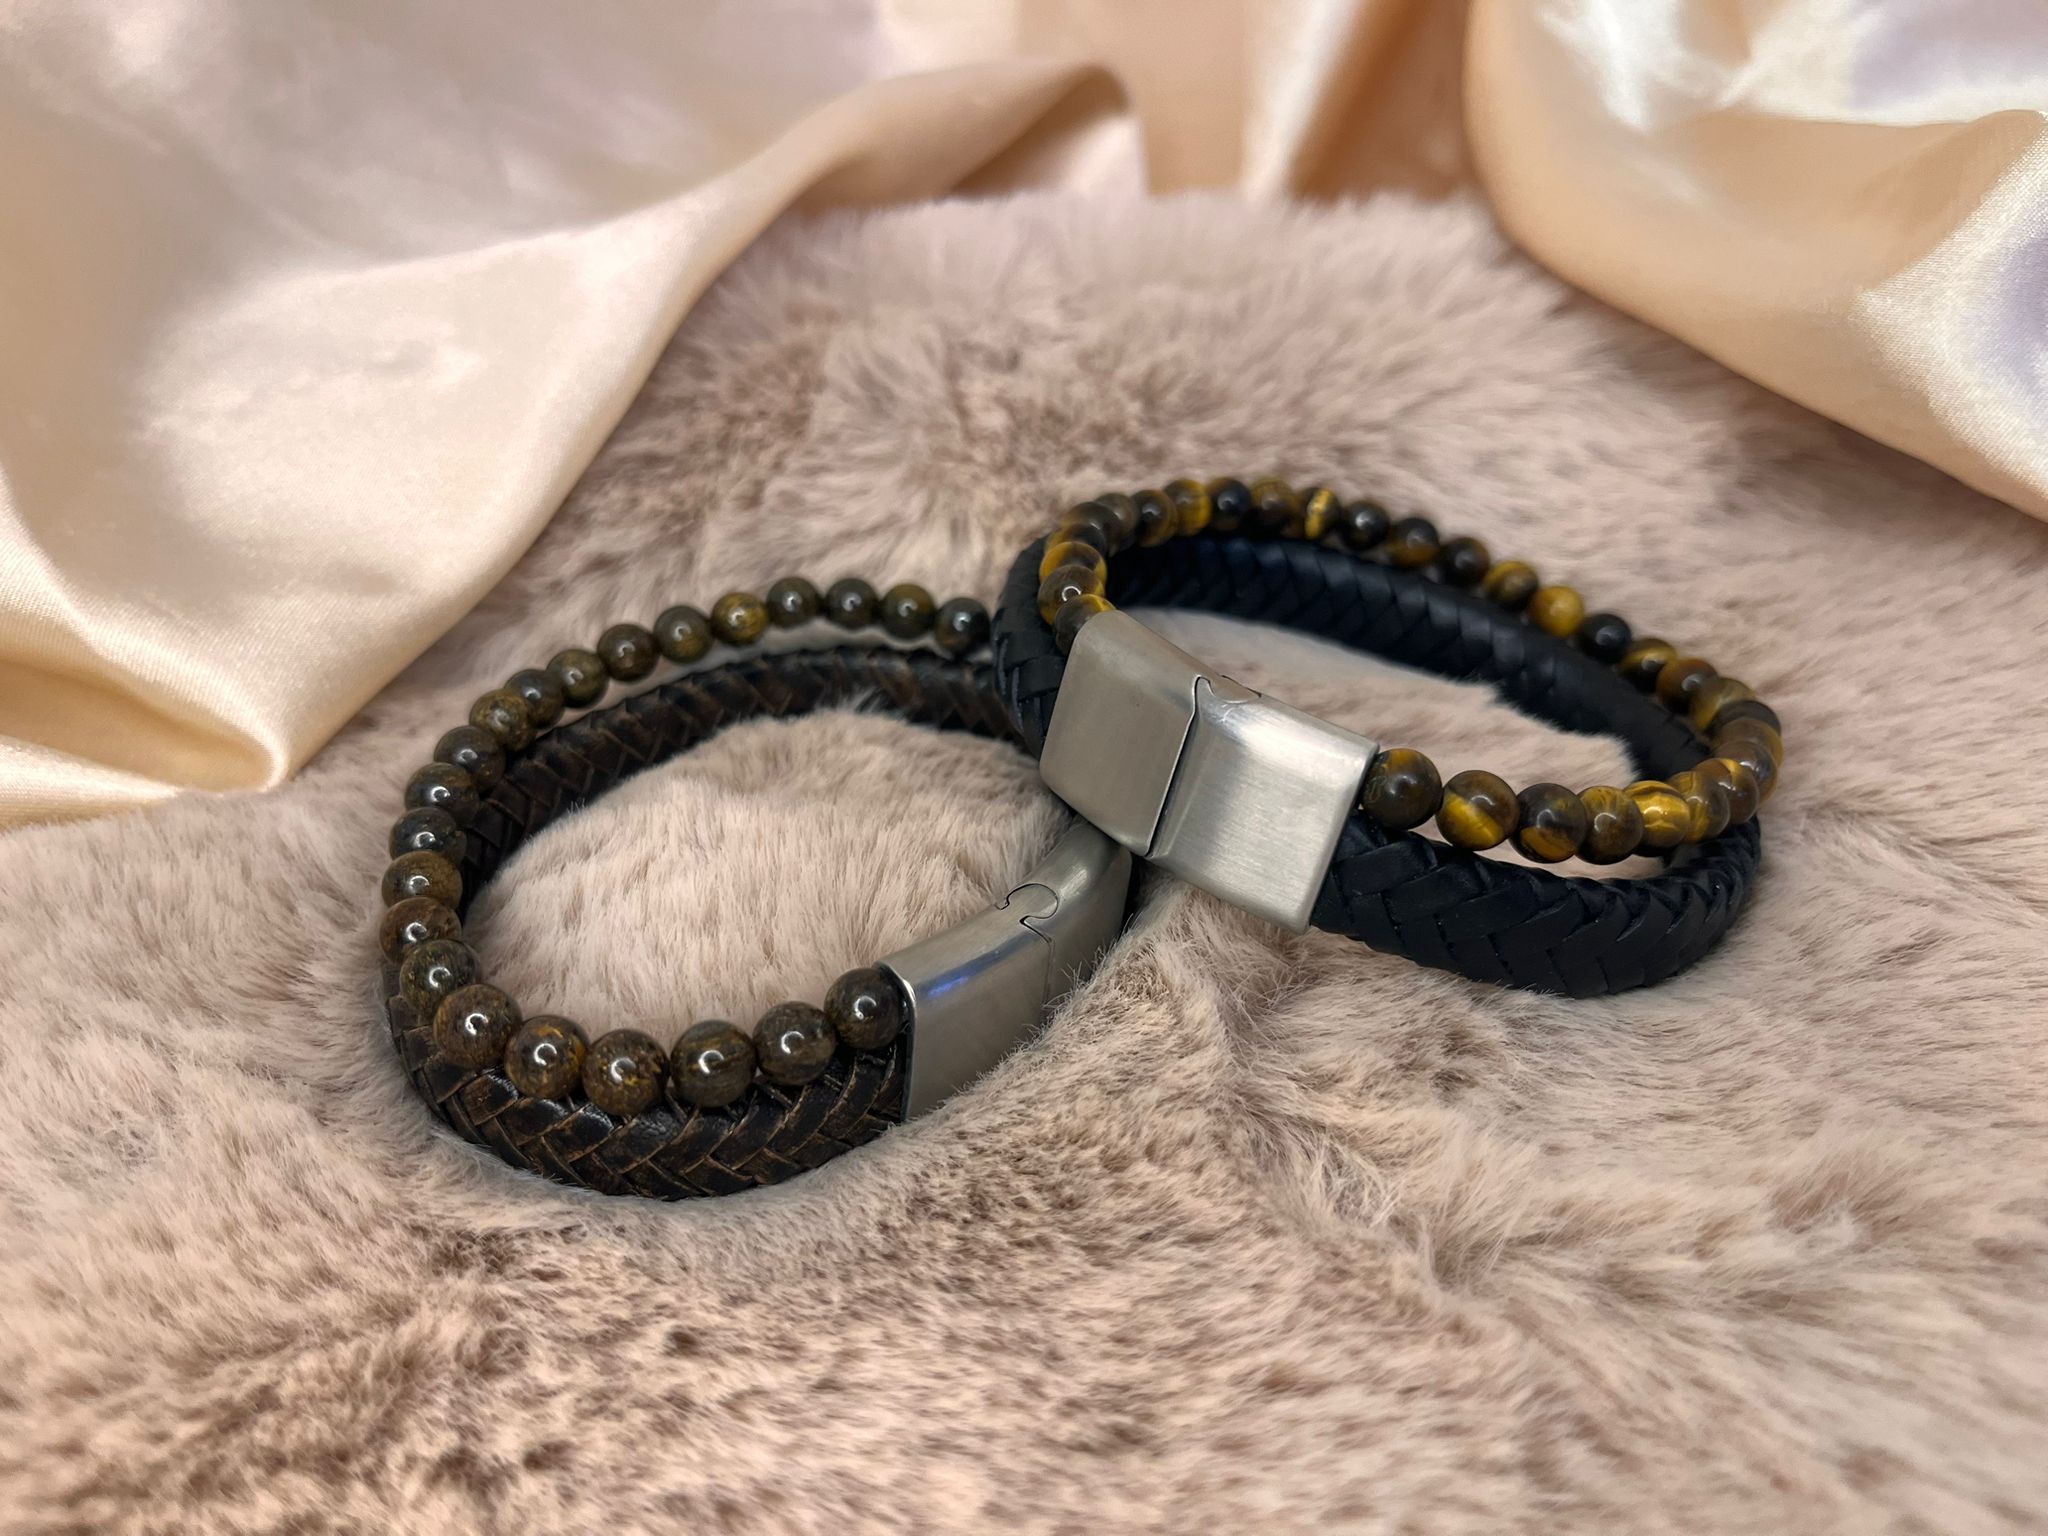
Common materials found in a DIY bracelet kit include leather cords, decorative beads, sliders, and bracelet clasps. Leather cords can come in different styles such as round leather cords, flat leather cords, or braided leather cords, each offering a different aesthetic for your bracelet.
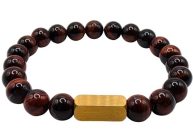
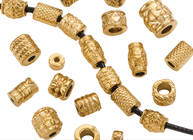
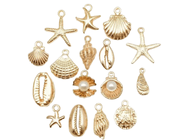
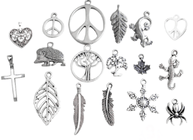
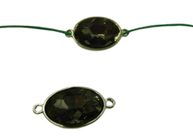
Many kits also include large hole beads for leather cords, which are specifically designed to slide easily onto thicker cords. Decorative elements like metal spacers or gemstone beads may also be included to help personalize the bracelet.
Step 1: Choose Your Leather Cord
The first step when using a DIY bracelet kit is selecting the type of leather cord you want to use. Different cords create different styles.
Round leather cords are ideal for classic bracelet designs and work well with large hole beads.
Flat leather cords are commonly used with sliders and decorative metal elements.
Braided leather cords create a textured look and are often used for more bold bracelet styles.
Choosing the right cord helps determine the overall appearance of your bracelet.
Step 2: Add Beads and Decorative Elements
Once you have selected your leather cord, you can begin adding beads and decorative components.
Slide large hole beads for leather cords onto the cord to create patterns or spacing between decorative elements. You can also combine different types of beads, such as metal spacers or gemstone beads for leather jewelry, to add color and character to the design.
Many jewelry makers experiment with different bead combinations until they achieve the look they want.
Step 3: Measure and Cut the Cord
Before attaching the clasp, it is important to measure the bracelet to ensure it fits comfortably around the wrist.
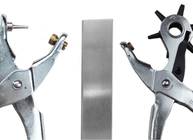
Wrap the leather cord around the wrist and leave a small amount of extra space for the clasp. Once the correct length is determined, carefully cut the cord using jewelry cutters or sharp scissors.
Accurate measuring helps ensure the bracelet is comfortable and easy to wear.
Step 4: Attach the Clasp
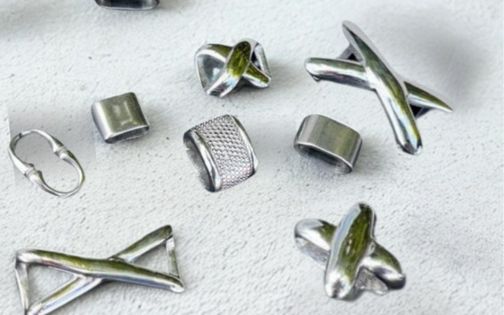
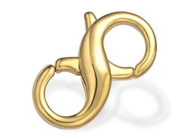
The final step is attaching the bracelet clasp. Many leather bracelet kits include magnetic clasps, which are popular because they are easy to use and provide a secure closure.
Magnetic clasps are simply attached to the ends of the leather cord, often using glue or a built-in locking mechanism depending on the design of the clasp.
Once the clasp is secured, your bracelet is ready to wear.
Tips for Creating Unique Leather Bracelets
One of the best parts of using a DIY bracelet kit is the ability to experiment with different combinations of materials. Try mixing braided leather cords with metal beads, or combine gemstone beads with minimalist designs.
You can also layer several leather bracelets together to create a modern stacked look.
Conclusion
Using a DIY bracelet kit with leather cord is a fun and simple way to create personalized jewelry. By selecting the right leather cord, adding decorative beads, and attaching a secure clasp, anyone can craft stylish handmade bracelets.
Whether you are new to jewelry making or looking for a creative hobby, leather bracelet kits offer an easy and rewarding way to design unique accessories.


