






How to Prepare a Jewellery Tech Pack for a Supplier
A jewellery tech pack is a clear production guide that tells a supplier exactly what to make: the design, materials, sizes, finishes, parts, branding, packaging, and quality rules. A good tech pack helps avoid mistakes, saves time, and makes sure the finished jewellery looks the way you planned.
What Is a Jewellery Tech Pack?
A tech pack is a document that gives a supplier every detail they need to make your jewellery. It should be clear enough that someone who has never seen your design can understand how to make it.
A good tech pack usually includes:
- Product name, style number, and version number
- Drawings or design files
- Front, side, back, and top views
- Exact sizes and allowed small differences
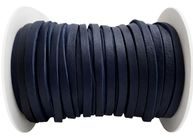
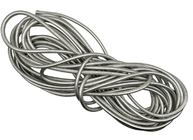
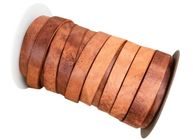
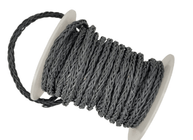
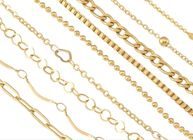
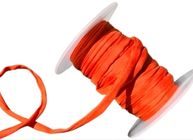
- Metal, leather, cord, or chain details
- Gemstone or bead details
- Findings and how to put the piece together
- Finish and plating details
- Logo, engraving, or branding details
- Packaging and label details
- Order quantity, target price, and delivery date
Think of it like a recipe. The supplier needs to know not only what the finished piece looks like, but also every part, size, and step needed to make it the same way each time.
Start With Product Information
Start every tech pack with clear product details. This avoids confusion when you have many styles, colours, versions, or suppliers.
Include:
- Product name
- Style or SKU number
- Collection name
- Tech pack version and date
- Supplier name
- Product type, such as bracelet, necklace, earrings, or pendant
- Target market and price level
- Reference photos or mood-board links
Add Clear Drawings
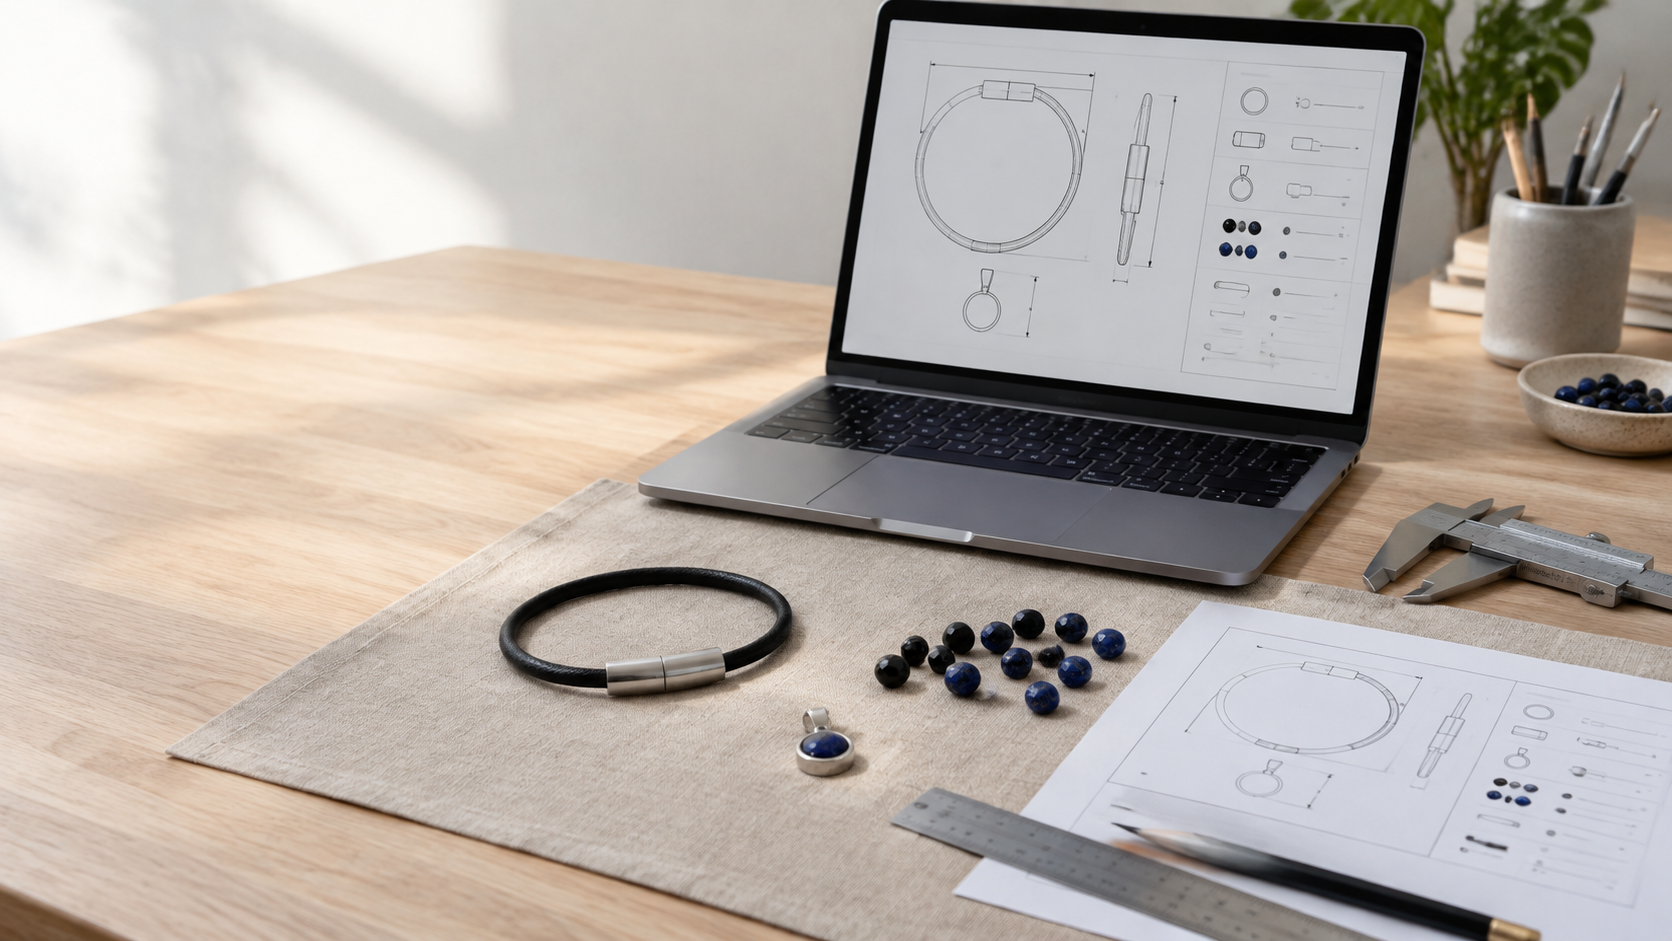
Drawings are one of the most important parts of a jewellery tech pack. They show shape, size, and where each part goes more clearly than words alone.
Add as many views as needed:
- Front view
- Side view
- Back view
- Top view
- Close-up details
- Exploded view for pieces with several parts
For a bracelet, show the cord or chain, clasp, connectors, charms, and bead placement. For a necklace, show the chain, pendant, bail, clasp, and extension chain. For earrings, show the front, back, post, drop length, and fastening.
Add labels directly on the drawing to name each part. A photo can help, but it should not replace exact measurements.
Include Exact Measurements
Do not rely only on how the design looks. A supplier needs exact sizes to give an accurate price and make the jewellery the same way every time.
Use millimetres and include:
- Overall length, width, and depth
- Chain or cord length
- Cord or chain thickness
- Pendant size
- Bail size
- Clasp size
- Space between parts
- Stone size
- Earring drop length
- Ring size, band width, and band thickness
For example, instead of writing “small silver clasp,” write “stainless-steel lobster clasp, 12 mm x 6 mm.” Instead of “thin leather cord,” write “2 mm round genuine leather cord, black.”
If a small difference matters, say how much change is allowed. A 2 mm difference on a small earring or pendant can change the whole look.
Create a Parts List
The parts list, also called a bill of materials, shows every part needed to make one finished piece. It helps with pricing, ordering, and production.
Your parts list should include:
- Part name
- Material type
- Size
- Colour or finish
- Quantity for one piece
- Supplier or supplier reference number
- How the part is attached
- Where it goes on the piece
For a leather bracelet, this might include:
| Part | Details | Quantity |
|---|---|---|
| Round leather cord | 2 mm, black, genuine leather | 1 length |
| Gemstone bead | 6 mm round onyx | 1 |
| Crimp end caps | 2 mm, stainless steel | 2 |
| Lobster clasp | 12 mm, stainless steel | 1 |
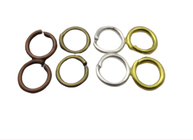
| Jump rings | 5 mm, stainless steel | 2 |
| Extension chain | Optional, 30 mm | 1 |
Adding supplier references and style numbers makes reordering and matching parts much easier.
Be Clear About Metals, Leather, and Cords
Be specific about every material. “Silver,” “gold,” or “leather” is not enough on its own.
For metal parts, include:
- Base material, such as stainless steel, brass, or 925 sterling silver
- Colour, such as silver, gold, rose gold, or black
- Plating type and thickness, if used
- Surface finish, such as shiny, brushed, matte, or textured
- Any rules, such as nickel-free or skin-friendly requirements
For leather and cord, include:
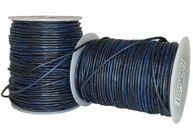
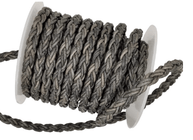
- Genuine leather, vegan leather, suede, waxed cord, or braided cord
- Colour
- Width or thickness
- Finish
- Length for one piece
- Any colour or strength requirements
Clear material details help the supplier give the right price and stop them from using parts that do not match your design.
Give Full Gemstone Details
If your design includes gemstones, pearls, crystals, or beads, give complete details. Unclear stone descriptions can lead to differences in colour, size, or quality.
Include:
- Stone type
- Natural, lab-grown, synthetic, glass, or resin
- Shape and cut
- Size in millimetres
- Quantity
- Colour description
- Quality level or allowed differences
- How the stone is set, such as prong, bezel, glue, or wire wrap
- Where the stone goes on the piece
For example: “One natural round onyx bead, 6 mm, black, placed in the centre of a 2 mm black leather cord.” This is much clearer than “black stone bead.”
Explain Finishes and Plating
The surface finish changes how jewellery looks and feels. A shiny finish reflects light strongly, while a brushed or matte finish looks softer and more modern.
Include:
- High shine
- Matte finish
- Brushed finish
- Hammered texture
- Antique or darkened finish
- Mixed finishes
If different parts need different finishes, mark each area clearly on the drawing. For plated jewellery, include the plating colour, plating material, thickness, and any special finishing needs.
Add Branding and Engraving Details
If the piece includes a logo, engraving, stamp, tag, or custom clasp, give exact artwork and placement details.
Include:
- Logo file in vector format, such as AI, SVG, EPS, or vector PDF
- Engraving text and font details
- Logo size
- Where the logo or engraving goes
- Engraving depth or style
- Colour or contrast needs
- Whether the engraving is on the front, back, clasp, tag, or packaging
For laser engraving, send clean vector artwork and give the final engraving size. This helps prevent font changes, poor detail, or branding in the wrong place.
Explain How to Put the Piece Together
A tech pack should explain how the parts fit together. This is especially important for designs with several parts, layered necklaces, charm bracelets, or pieces with moving parts.
Include:
- Which parts are soldered, glued, crimped, knotted, or attached another way
- Which joins must be permanent
- Which parts should move freely
- Clasp type and how it is attached
- Jump-ring size and how it should be closed
- How the cord is finished
- Any extra support needed at strong pull points
For example: “Attach 2 mm black leather cord to 2 mm stainless-steel crimp end caps using jewellery glue; connect each end cap to a 12 mm lobster clasp with a 5 mm stainless-steel jump ring."
Add Packaging and Labels
Packaging affects how the jewellery looks, how it is protected during shipping, and how the customer feels when they receive it. Add it to the tech pack so the supplier can include it in the price and planning.
Include:
- Pouch, box, card, or bag type
- Material and colour
- Logo placement
- Barcode or SKU label needs
- Care instructions
- Inner packaging
- Outer shipping box needs
- How many pieces go in each box.
Clear packaging details reduce delays and make sure products arrive ready to sell or send to customers.
Add Quantities, Dates, and Budget
A supplier needs business details as well as design details. This helps them give an accurate price and a realistic delivery date.
Include:
- Sample quantity
- Production quantity
- Colour breakdown
- Target price for one piece
- Delivery date
- Shipping terms
- Any tests or certificates needed
- Sample approval process
If you have a target selling price, include it too. It helps the supplier suggest materials, finishes, and production methods that fit your budget.
Set Quality Rules
Quality rules should be written into the tech pack, not left unclear. Say what is acceptable and what is not.
Your quality section can include:
- Allowed size differences
- Stone security
- Clasp function
- Plating consistency
- Scratches or marks
- Sharp edges
- Colour consistency
- Engraving quality
- Cord or chain strength
- Packaging accuracy
A useful rule is: “All clasps must open and close smoothly; all jump rings must be fully closed; no sharp edges, visible glue, or loose stones are acceptable.”
Approve a Golden Sample
Before mass production, approve a golden sample: the final approved version that becomes the example for the whole order. The supplier should make the production pieces to match this approved sample.
When checking the sample, look at:
- Sizes
- Materials
- Colour
- Finish
- Stone setting
- Clasp function
- Engraving placement
- Weight and balance
- Packaging
- Overall finish
Keep the approved sample, photos, and signed approval with the tech pack. If production does not match the approved sample, you have a clear example to discuss.
Final Tech Pack Checklist
Before sending your jewellery tech pack to a supplier, check that it includes:
- Product name, SKU, and version number
- Drawings and several views
- Exact sizes and allowed differences
- Metal, leather, cord, or chain details
- Gemstone, bead, and stone-setting details
- Findings and parts list
- Bill of materials
- Finish and plating details
- Logo, engraving, and branding artwork
- Assembly and construction details
- Packaging and label details
- Sample and production quantities
- Target price and delivery date
- Quality rules
- Golden-sample approval process
A complete tech pack protects your design, improves communication, and helps your supplier make jewellery exactly as you imagined.
FAQ
What is a jewellery tech pack?
A jewellery tech pack is a production document that explains every detail of a jewellery design, including drawings, sizes, materials, parts, finishes, branding, packaging, and quality rules.
Why do I need a tech pack for a jewellery supplier?
A tech pack helps the supplier give an accurate price, order the right materials, avoid mistakes, and make the design the same way every time.
What should a jewellery tech pack include?
It should include product details, drawings, measurements, materials, gemstone details, findings, finishes, plating, branding, packaging, quantities, dates, and quality rules.
How detailed should the measurements be?
Be as exact as possible. Include overall size, cord or chain length and thickness, clasp size, pendant size, stone size, and any allowed differences.
Do I need CAD files for a jewellery tech pack?
CAD files are helpful for complex or cast jewellery, but clear drawings, measurements, reference photos, and a detailed parts list can also be enough for simpler designs.
What is a golden sample?
A golden sample is the approved physical sample that becomes the example for production. All production pieces should match it.
How do I describe gemstones in a tech pack?
Include the stone type, whether it is natural or lab-grown, shape, cut, size, quantity, colour, quality level, setting method, and placement.
Can I use photos instead of drawings?
Photos are useful as references, but they should not replace drawings and measurements. Drawings show construction and sizes more clearly.


