





How to Make Adjustable Cord Bracelets
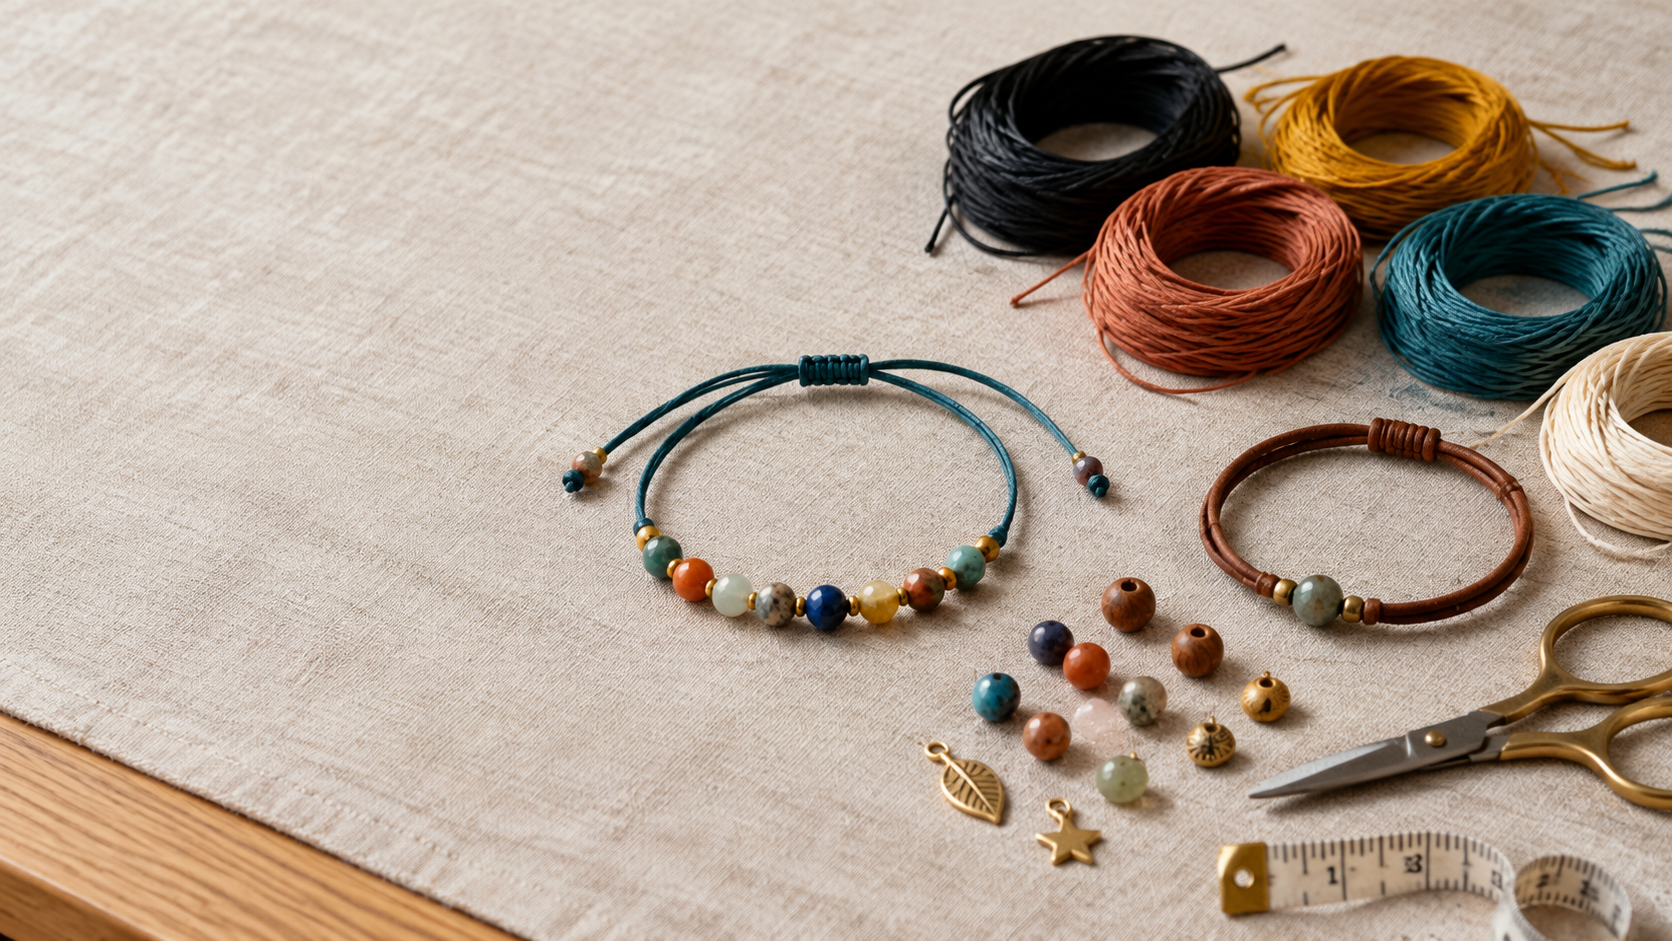
Adjustable cord bracelets are one of those designs that never go out of style. They are easy to wear, fit almost any wrist, and do not need a clasp—making them perfect for everyday jewellery, gifts, and handmade collections. The best part? Once you learn one simple sliding knot, you can make endless versions using different cords, beads, and charms.
In this guide, you will learn how to make an adjustable cord bracelet step by step, choose the right materials, and avoid the small mistakes that can make a bracelet feel loose, stiff, or unfinished.
What You Will Need
You do not need a lot of tools to get started. In fact, one of the reasons adjustable cord bracelets are so popular is how simple they are to make.
Gather:
- Waxed polyester cord, nylon cord, or thin leather cord
- Sharp scissors
- A ruler or measuring tape
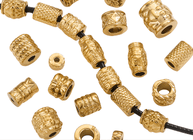
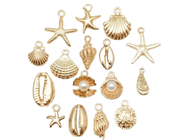
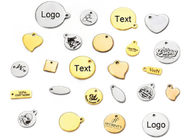
- Beads, charms, or a small pendant
- Masking tape or a clipboard
- Clear jewellery glue, if needed
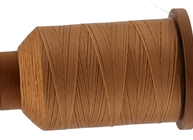
Waxed cord is a great place to start. The light wax coating helps knots hold their shape while still allowing the bracelet to slide open and closed. A 1 mm cord is ideal for delicate beaded designs, while 1.5–2 mm cord gives the finished bracelet a little more presence.
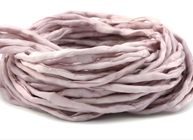
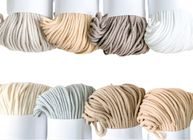
Choose the Right Cord
The cord you choose will shape the whole look and feel of the bracelet.
| Cord type | Best for | Why it works |
|---|---|---|
| Waxed polyester cord | Beaded and macramé bracelets | Holds knots securely and adjusts smoothly |
| Nylon cord | Colourful, durable bracelets | Strong, smooth, and available in many colours |
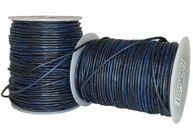
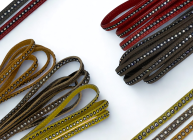
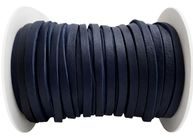
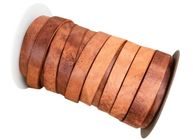
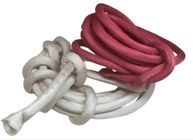
| Leather cord | Minimalist or natural designs | Soft, warm, and timeless |
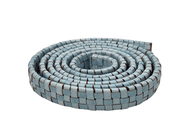
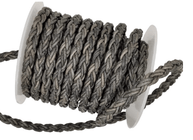
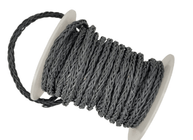
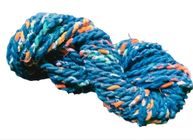
| Braided cord | Boho or casual bracelets | Adds texture and character |
For most adjustable bracelets, choose a cord that is flexible but not too slippery. If it slides too easily, the knot may loosen during wear. If it is too rough, the closure may feel difficult to adjust.
Cut the Cord to the Right Length
Cutting enough cord is one of the most important steps. A bracelet that is too short cannot be adjusted properly, and there is no easy way to fix it once you start knotting.
A simple rule is to cut the main cord around 2.5 to 3 times the finished wrist size.
For example:
- 16 cm wrist: cut around 40–48 cm
- 18 cm wrist: cut around 45–54 cm
- 20 cm wrist: cut around 50–60 cm
If you plan to use a separate piece of cord for the sliding closure, cut an extra 30–50 cm. This gives you plenty of cord for neat knots without running out halfway through.
When in doubt, cut a little more. It is much easier to trim the ends than to start again.
Add Your Beads First
Thread any beads, charms, or pendants onto the main cord before you tie the adjustable closure. Once the sliding knot is in place, adding beads becomes much more difficult.
For a simple beaded bracelet:
- Fold the cord in half to find the centre.
- Thread your beads onto one or both sides of the centre point.
- Keep the beads away from the cord ends for now.
- Leave enough plain cord on each side to make the adjustable closure.
If you are using beads with small holes, check that the cord fits comfortably through them. Larger-hole beads are often easier for adjustable designs because the cord can move freely through the bracelet.
Make a Sliding Knot Closure
The sliding knot is what makes the bracelet adjustable. It sits around the two overlapping cord ends and moves up or down when you pull gently.
Step-by-step: square sliding knot
- Overlap the cord ends. Lay the two ends of the bracelet cord across each other in opposite directions, leaving an overlap of about 5–7 cm.
- Add the knotting cord. Place a separate 30–50 cm piece of cord underneath the overlap, with equal lengths on both sides.
- Tie the first half knot. Take the right cord over the two main cords, then bring the left cord over it and through the loop. Pull gently.
- Tie the second half knot. Repeat the movement from the opposite side. Together, these two knots form one square knot.
- Repeat. Tie three to five square knots, depending on how long you want the closure to be.
- Test the slide. Pull each bracelet end gently. The knot should move smoothly but stay in place when released.
- Trim and secure. Cut the knotting cord close to the knot. Add a tiny drop of jewellery glue if you want extra security.
A square sliding knot is neat, strong, and works especially well for beaded bracelets.
Add Stopper Knots
Stopper knots are small but important. They stop the cord ends from pulling all the way through the sliding closure, and they give the wearer something easy to hold when adjusting the bracelet.
Here is how to add them:
- Open the bracelet wide enough to fit over the hand.
- Pull the sliding knot until the bracelet reaches its largest useful size.
- Tie a small overhand knot close to the end of each cord.
- Pull each knot tight.
- Trim the ends, leaving a short tail.
For a more finished look, add a small bead before each stopper knot. Just make sure the bead is large enough that it cannot slip through the sliding knot.
Try a Simpler Single Sliding Knot
If you prefer a cleaner, more minimal closure, try a single sliding knot. This works especially well with leather cord and simple beaded bracelets.
- Cross the two cord ends over each other.
- Take one end and wrap it around the other cord to create a loop.
- Pass the end through the loop.
- Pull gently, but do not tighten it fully.
- Repeat with the other cord end, placing the second knot beside the first.
- Pull both knots snug, then test that the bracelet still adjusts.
This creates a compact closure that is quick to make and looks clean on everyday bracelets.
Try a Barrel Knot Closure
A barrel knot is another lovely adjustable option. It looks like a small rounded tube and slides along one cord end to change the bracelet size.
To make one:
- Overlap the two cord ends.
- Wrap one end around both cords several times.
- Pass the end through the centre of the wraps.
- Pull the wrapping cord gently to form a barrel shape.
- Tighten slowly and evenly.
- Add stopper knots to each bracelet end.
Barrel knots look especially good on leather, waxed cotton, and natural cord bracelets.
Easy Adjustable Bracelet Ideas
Once you know the basic technique, you can create many different styles without changing the method.
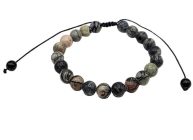
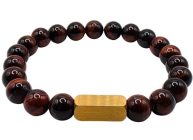
- Single bead bracelet: One gemstone, wood, or metal bead in the centre of a waxed cord.
- Three-bead bracelet: Three matching or contrasting beads spaced evenly along the cord.
- Charm bracelet: Add one charm to the centre and keep the rest of the cord plain.
- Layered bracelet: Make two or three slim bracelets in different cord colours and wear them together.
- Leather and gemstone bracelet: Use a 1.5–2 mm leather cord with one bold gemstone bead.
- Boho bracelet: Combine wooden beads, waxed cord, and a barrel-knot closure.
- Minimalist bracelet: Use plain cord with no beads and finish it with a neat sliding knot.
For a balanced look, keep beads or charms near the centre of the bracelet. This leaves clear cord space at each side for the adjustable closure.
Common Mistakes to Avoid
Even simple bracelets can go wrong in small ways. These are the issues makers run into most often:
- Cutting the cord too short: Always leave extra length for knots and adjustment.
- Tying the sliding knot too tightly: The bracelet will not open and close easily.
- Tying it too loosely: The bracelet may loosen while being worn.
- Forgetting stopper knots: The cord ends can pull through the closure.
- Using beads with holes that are too small: The cord may jam or the beads may not sit properly.
- Adding beads after tying the closure: Thread beads before finishing the bracelet.
- Using cord that is too slippery: The sliding knot may not stay in place.
Testing the bracelet before trimming the final ends is the easiest way to avoid most of these problems.
Final Checklist
Before you call the bracelet finished, check that:
- It fits over the hand at its largest setting.
- The sliding knot moves smoothly.
- The knot stays in place when released.
- The stopper knots are secure.
- The beads and charms sit where you want them.
- The cord ends are trimmed neatly.
- Any glue has dried fully before wearing or selling the bracelet.
Adjustable cord bracelets are quick to make, comfortable to wear, and easy to personalise. Master the sliding knot once, and you will have a go-to technique you can use for gifts, everyday pieces, and your own jewellery collection.
FAQ
What cord is best for adjustable bracelets?
Waxed polyester cord and nylon cord are excellent choices because they hold sliding knots well. Leather cord is also a great option for a more natural, minimalist look.
How long should the cord be for an adjustable bracelet?
Cut the main cord around 2.5 to 3 times the finished wrist size. If you are using a separate knotting cord, add an extra 30–50 cm.
How does a sliding knot work?
A sliding knot is tied around two overlapping cord ends. When you pull the ends, the knot moves along the cord, making the bracelet larger or smaller.
How many sliding knots should I use?
Three to five square knots create a strong, neat closure. For a more minimal look, one or two sliding knots can work well.
Why does my sliding knot keep coming loose?
The cord may be too slippery, the knot may be tied too loosely, or the stopper knots may be missing. Waxed cord and a firmer knot usually solve this.
Can I make adjustable bracelets with leather cord?
Yes. Leather cord works well with sliding or barrel-knot closures. Use a flexible leather cord and test the knot to make sure it moves smoothly.
Can I add beads to an adjustable bracelet?
Yes. Thread the beads onto the main cord before tying the sliding closure. Keep them away from the ends so the closure can still adjust properly.


